Table of Contents
Mapping Functionality
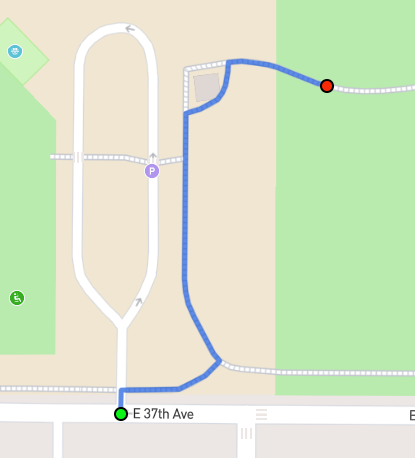
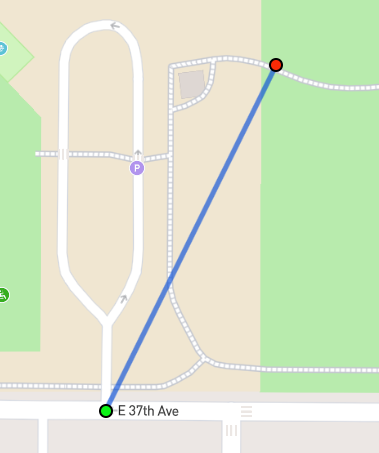
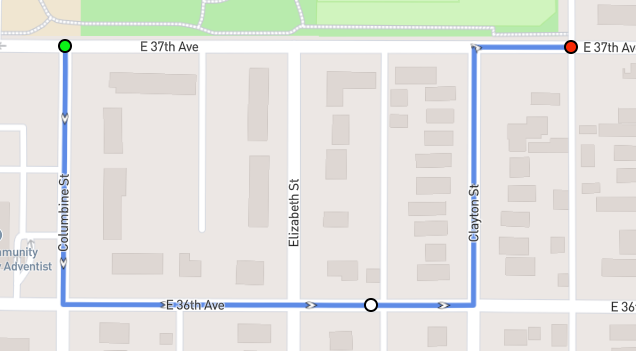
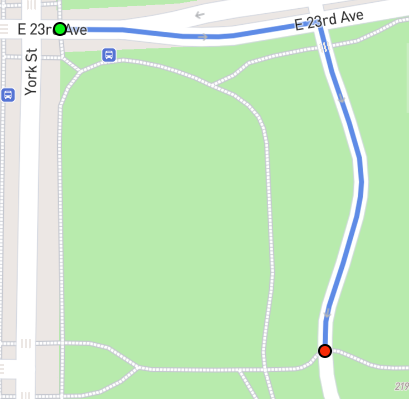
Create a route by clicking on the map. As you click, the most efficient route between your selected points will be calculated and automatically drawn onto the map. Turn off "Auto Follow Roads" or right click at any time to route a straight line between your points instead. This is useful when your route does not follow established roads or paths, for example when it goes through an open field, off trail in the wilderness, or hops a curb from a road to a path.
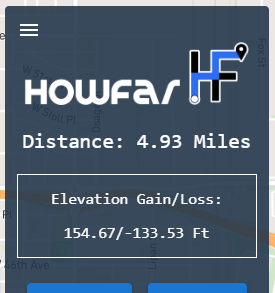
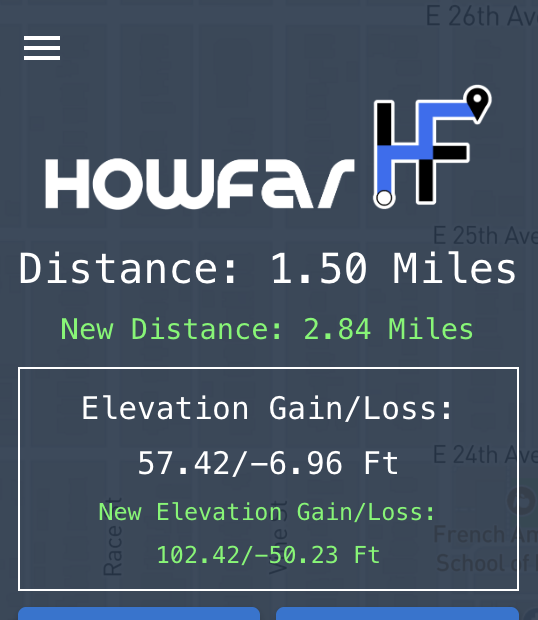
As you map, your routes distance and estimated elevation gain and loss are updated and displayed at the top of the side bar. Adding, moving or deleting points will update these values, and clearing your route will reset all values to 0.
And don't forget you can undo any actions at any time, as well as clear your route or turn it into an out and back.
Elevation Profile
The elevation profile is a graph that shows the elevation change of your route. To view it, click the terrain icon in the top right of the map (under the zoom/locate buttons). Pan over the graph with your mouse to see elevation at specific points along your route.

Add Waypoints in Line Segments
Enabling the "Edit lines on click" will allow you to edit existing line segments within your route. When disabled (which is the default) clicking on a part of your route will simply add a new waypoint to the end or beginning of the route (depending on the "Add new points to beginning/end" option). But when this setting is enabled, hovering the mouse over a line will reveal a gray "add new" waypoint. Clicking on the line will add a waypoint at that point in the middle of the line, allowing it to be dragged/edited.

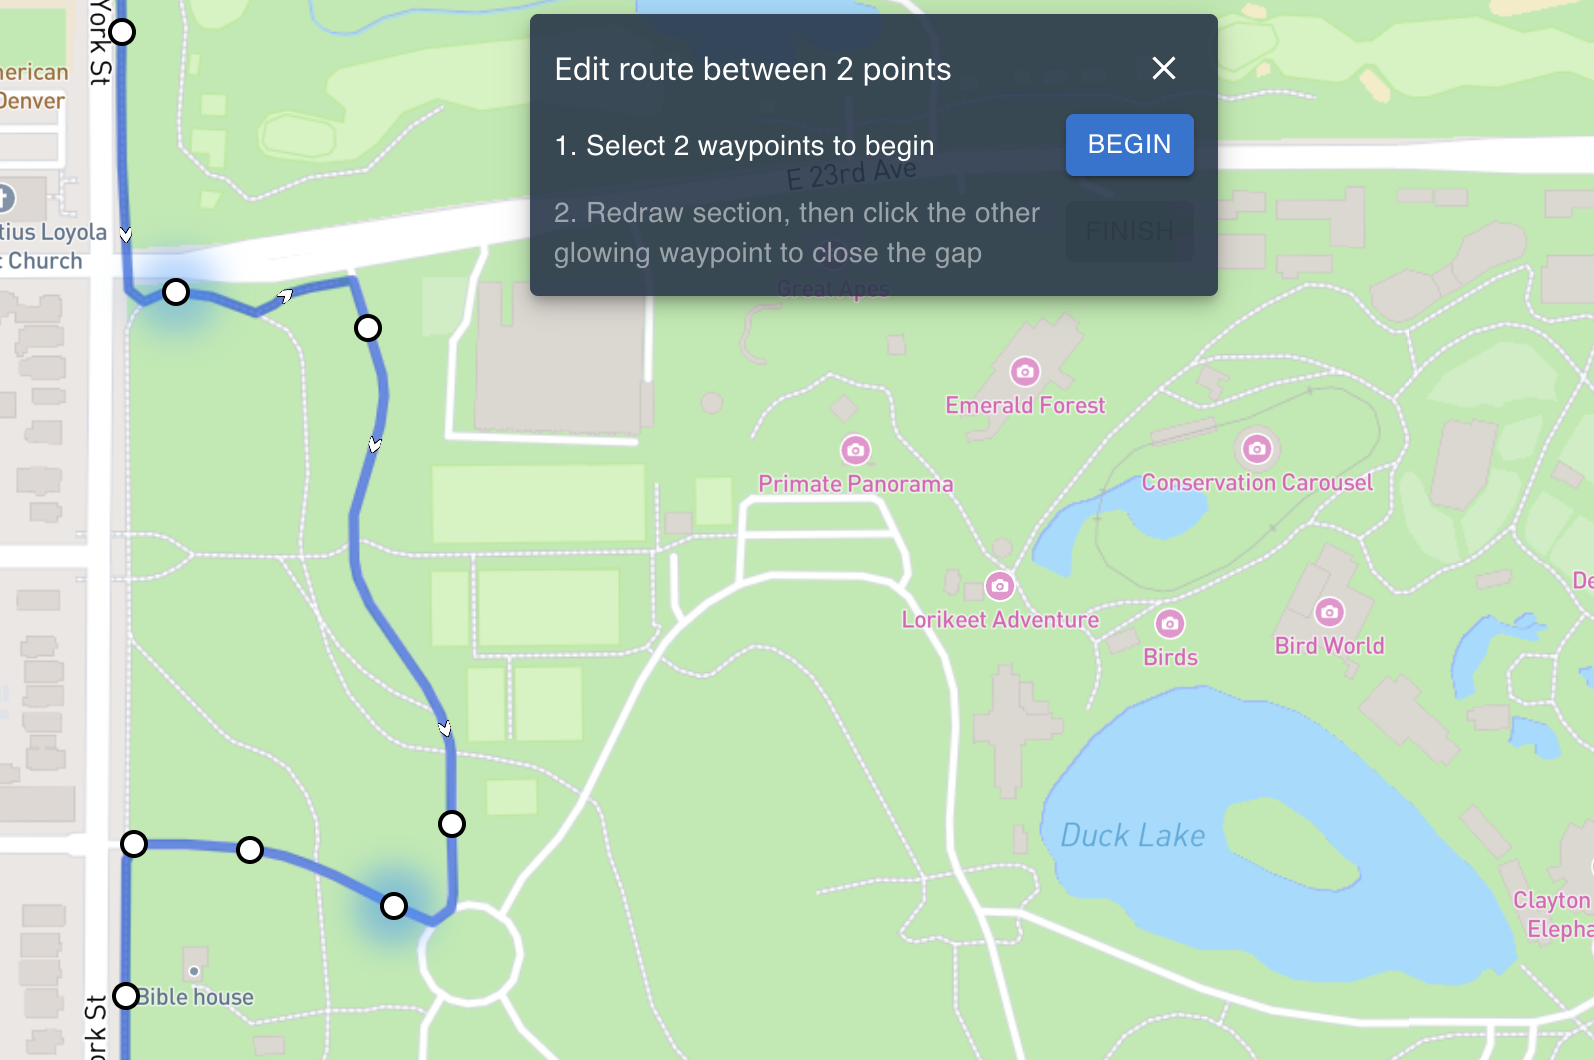
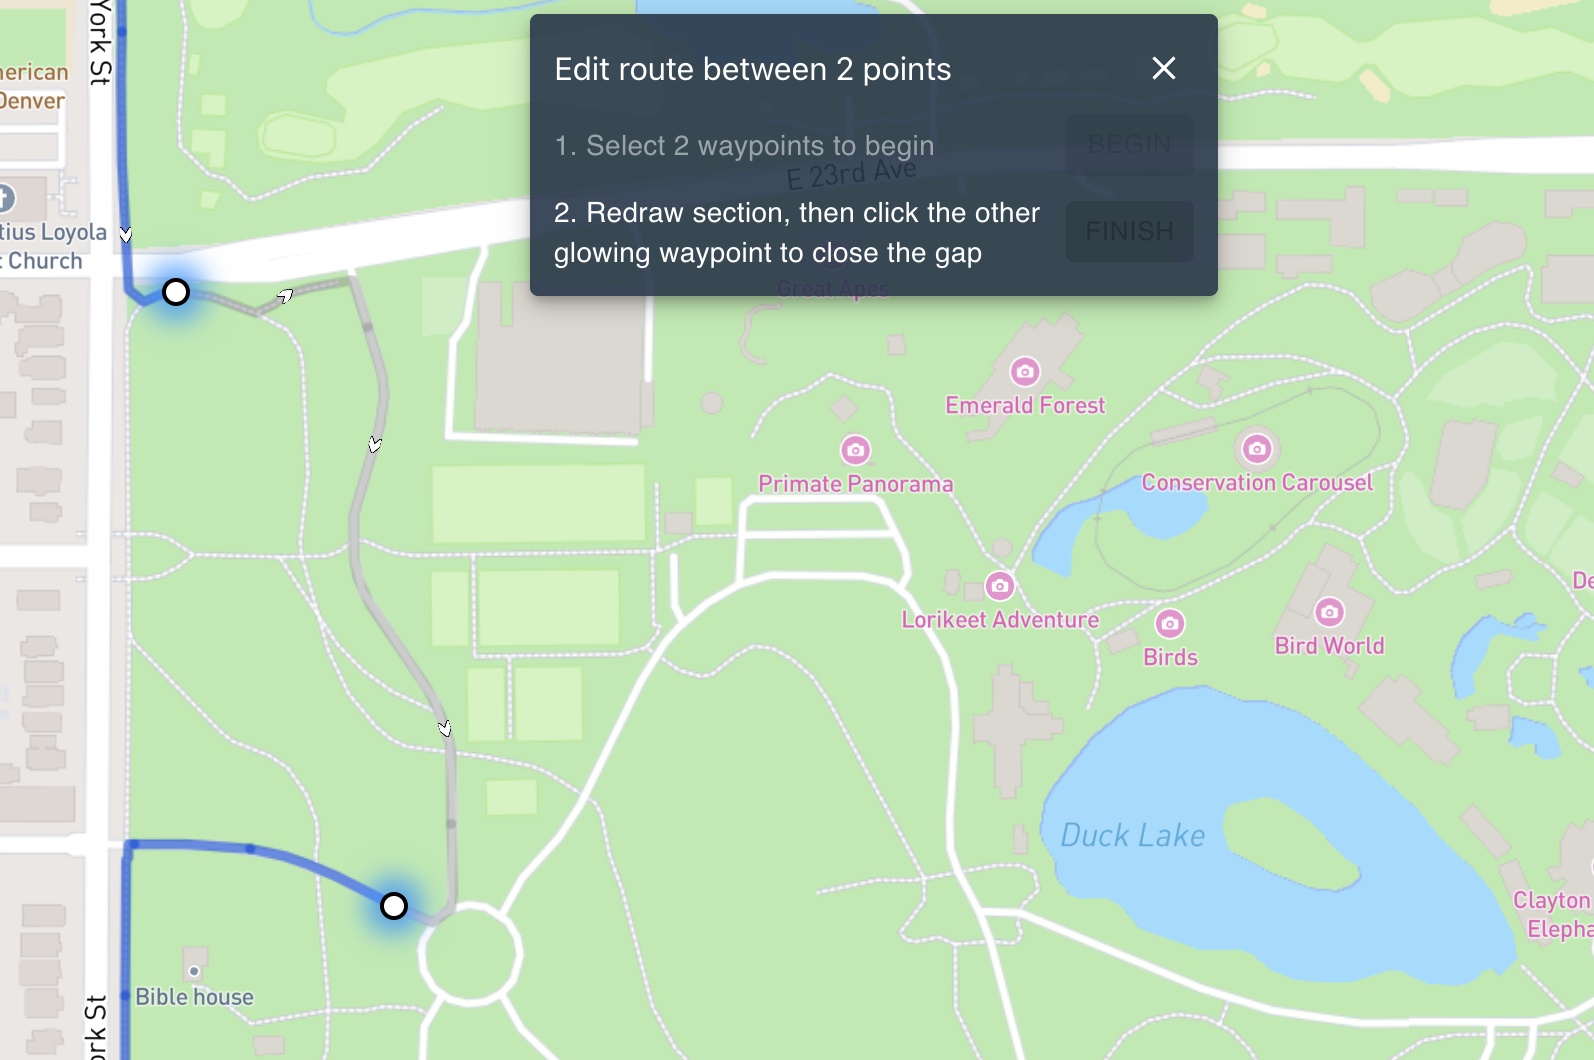
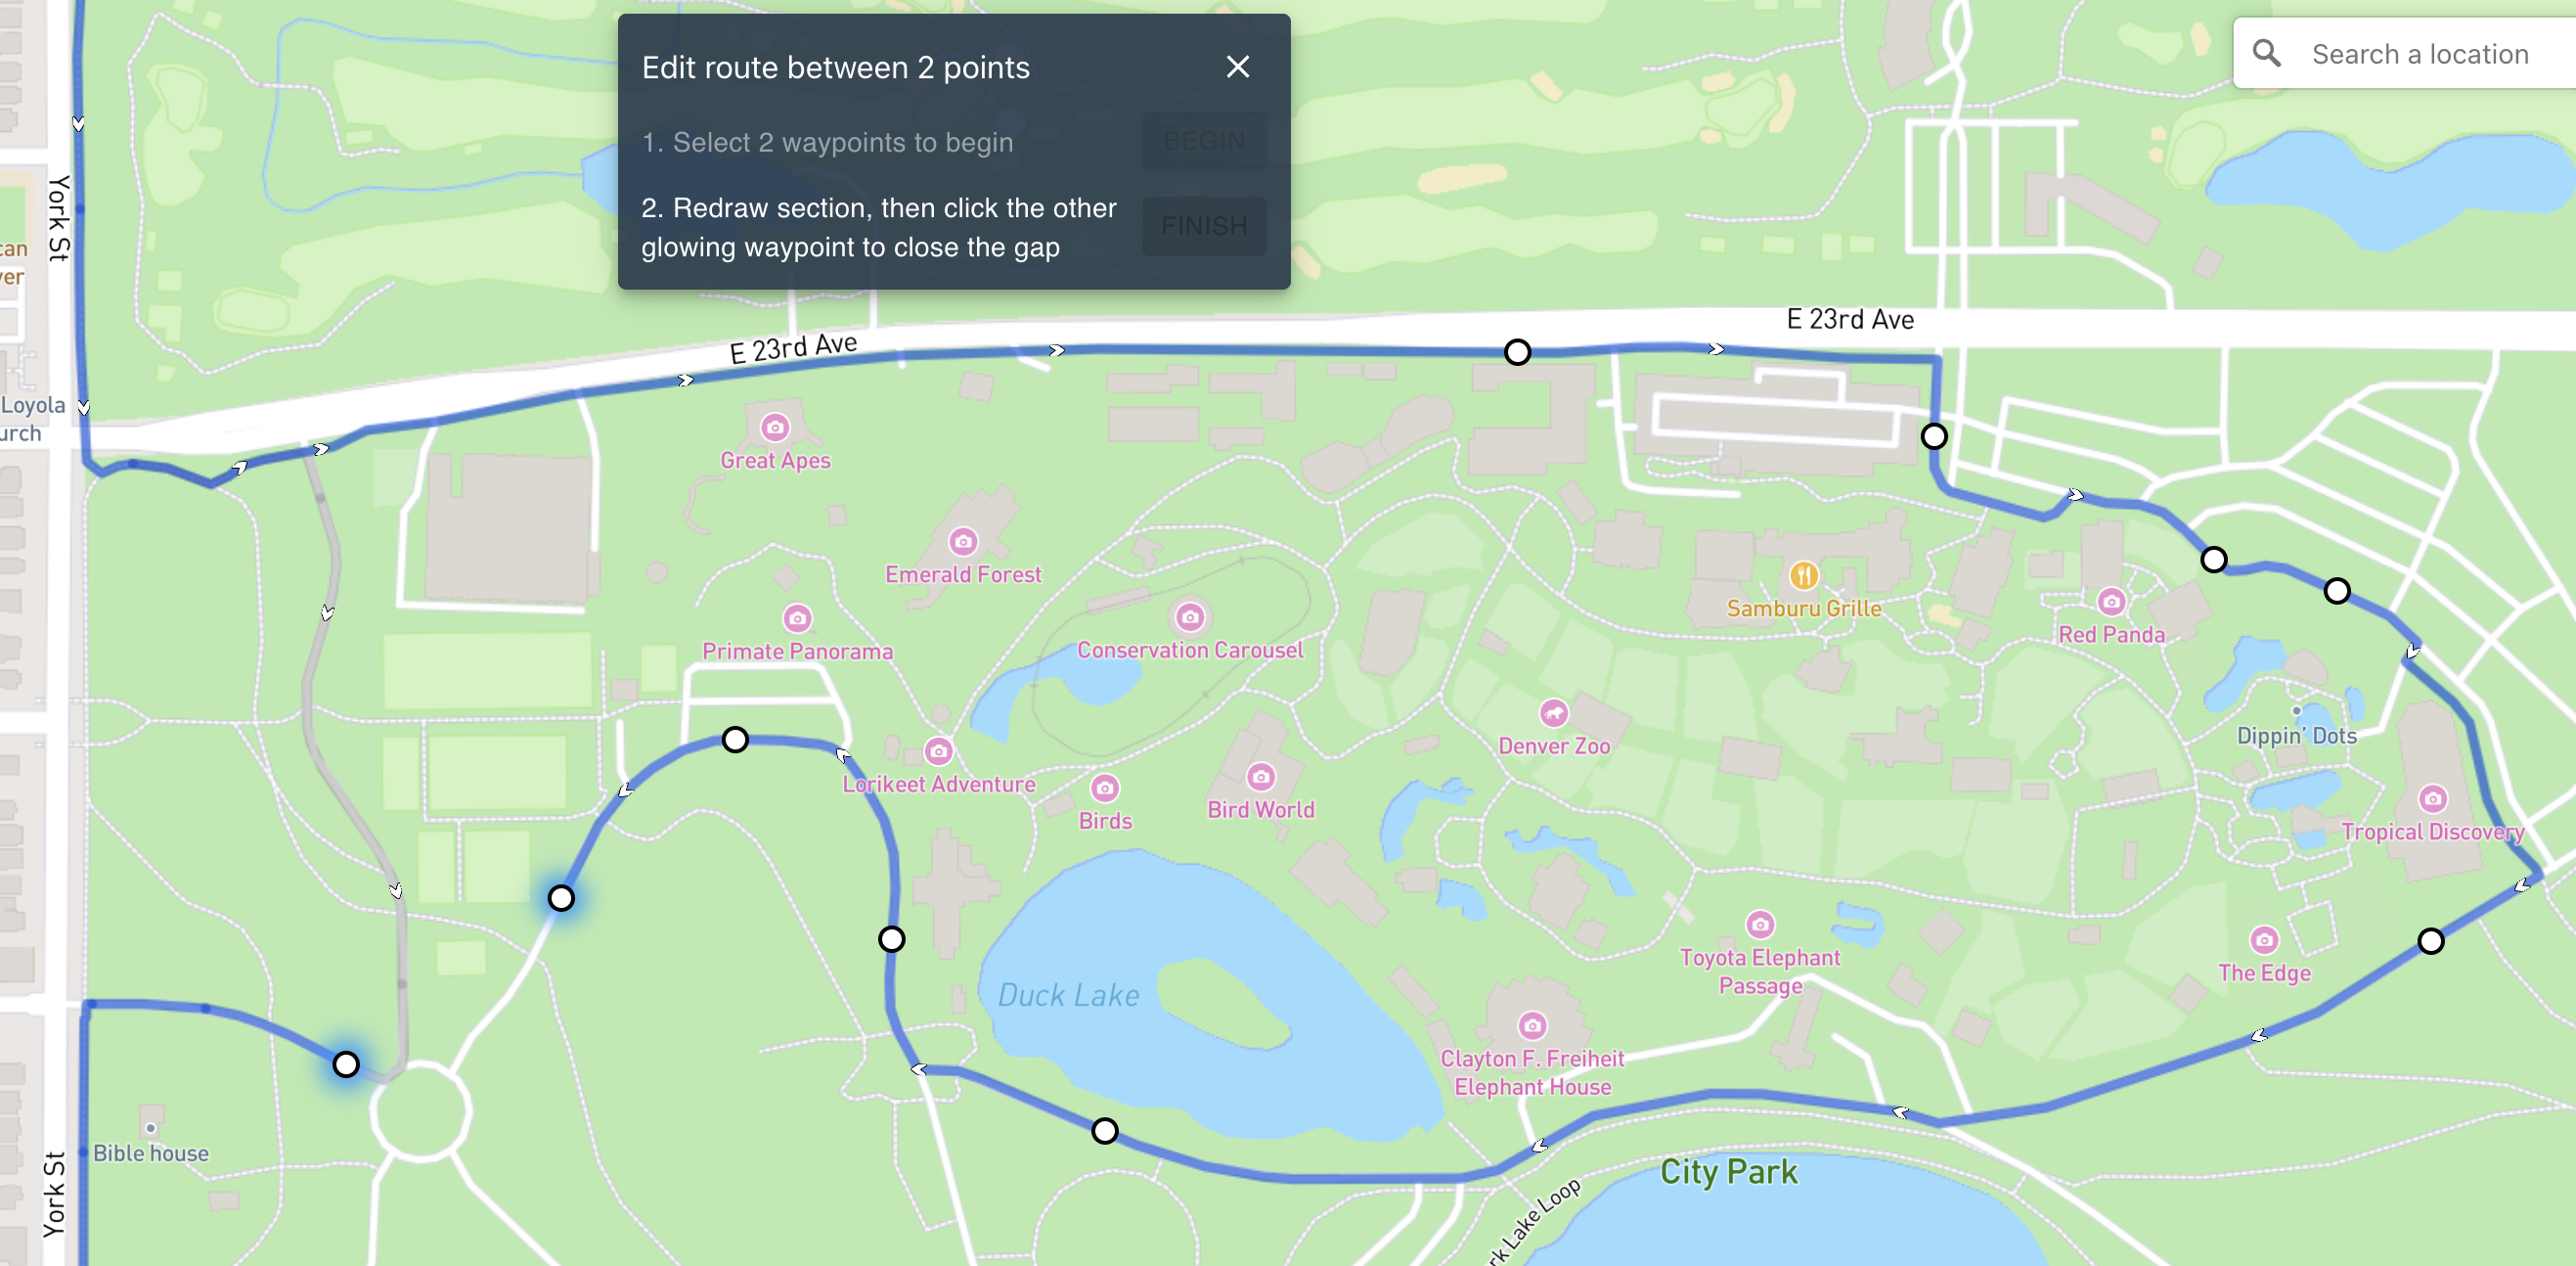
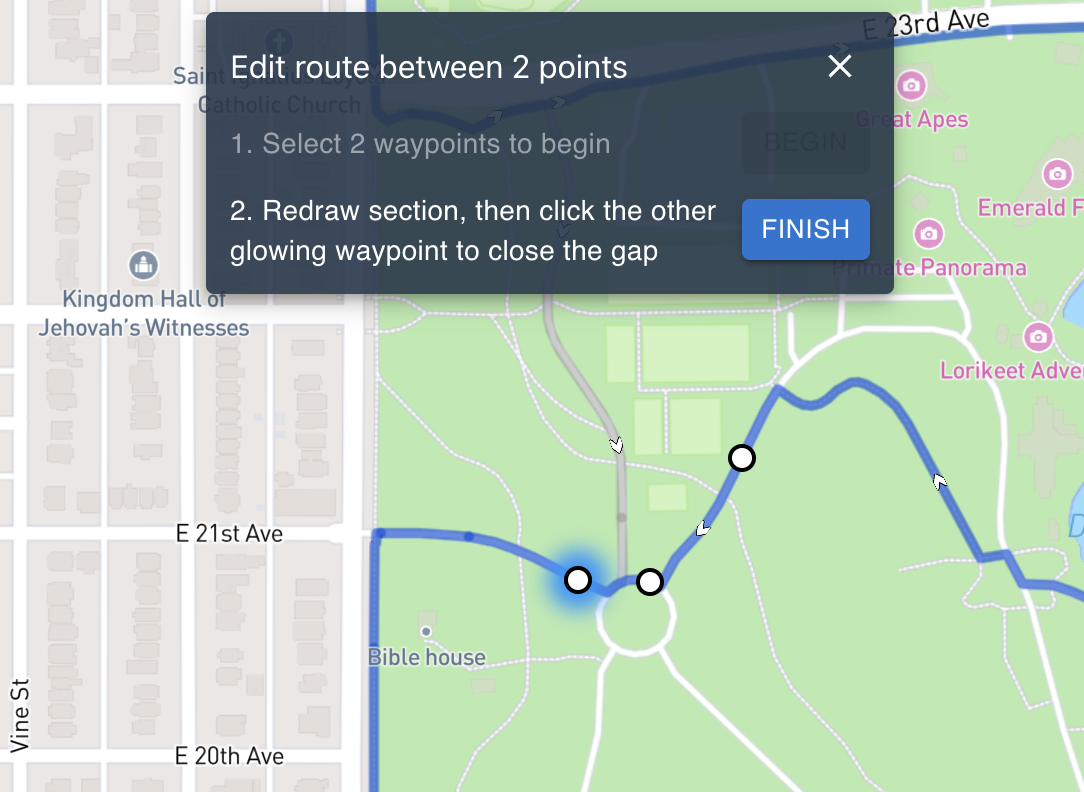
Edit Route Between Points
If you need to edit a section in the middle of your route, rather than adding points in-line and dragging them around, you can use the edit feature to select 2 points and completely redraw the section between them. To begin, click the "Edit" button in the sidebar.

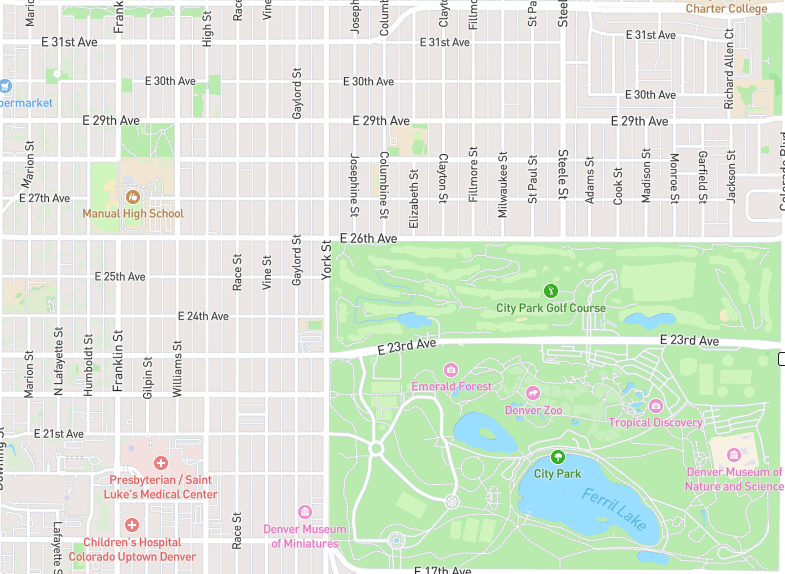
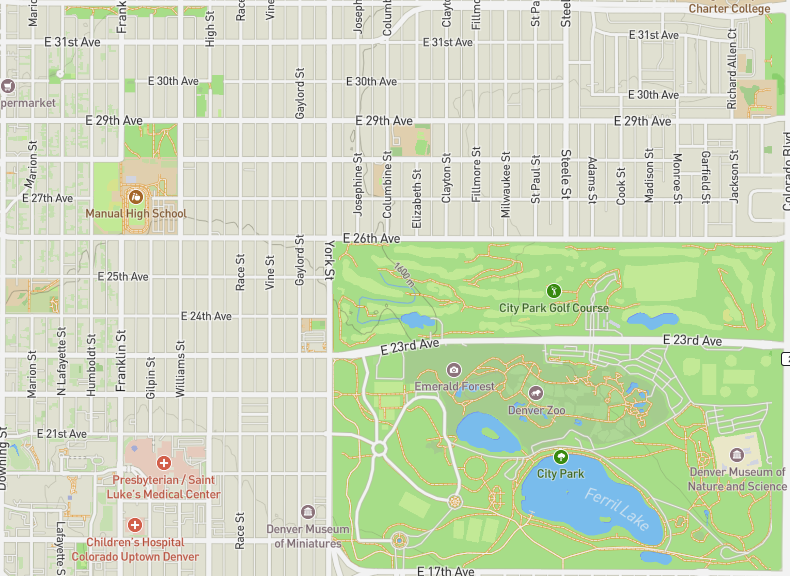
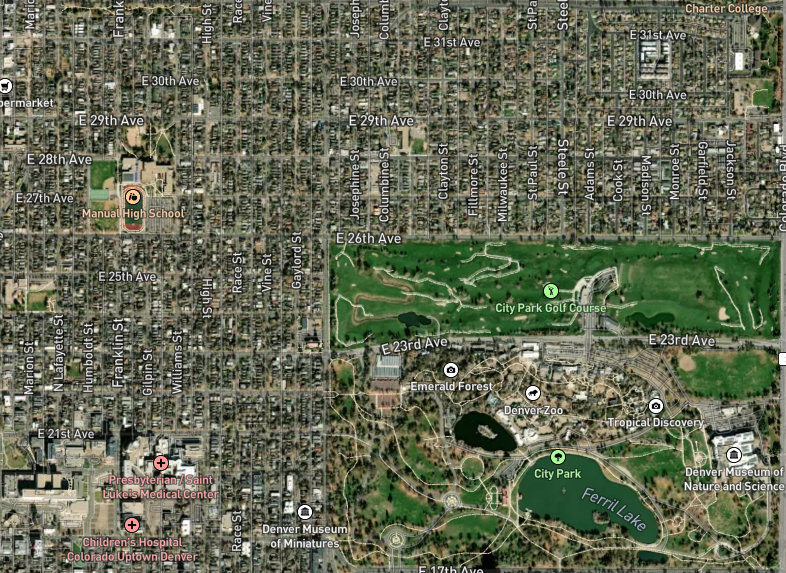
Map Types
HowFar has multiple map types.

Pins
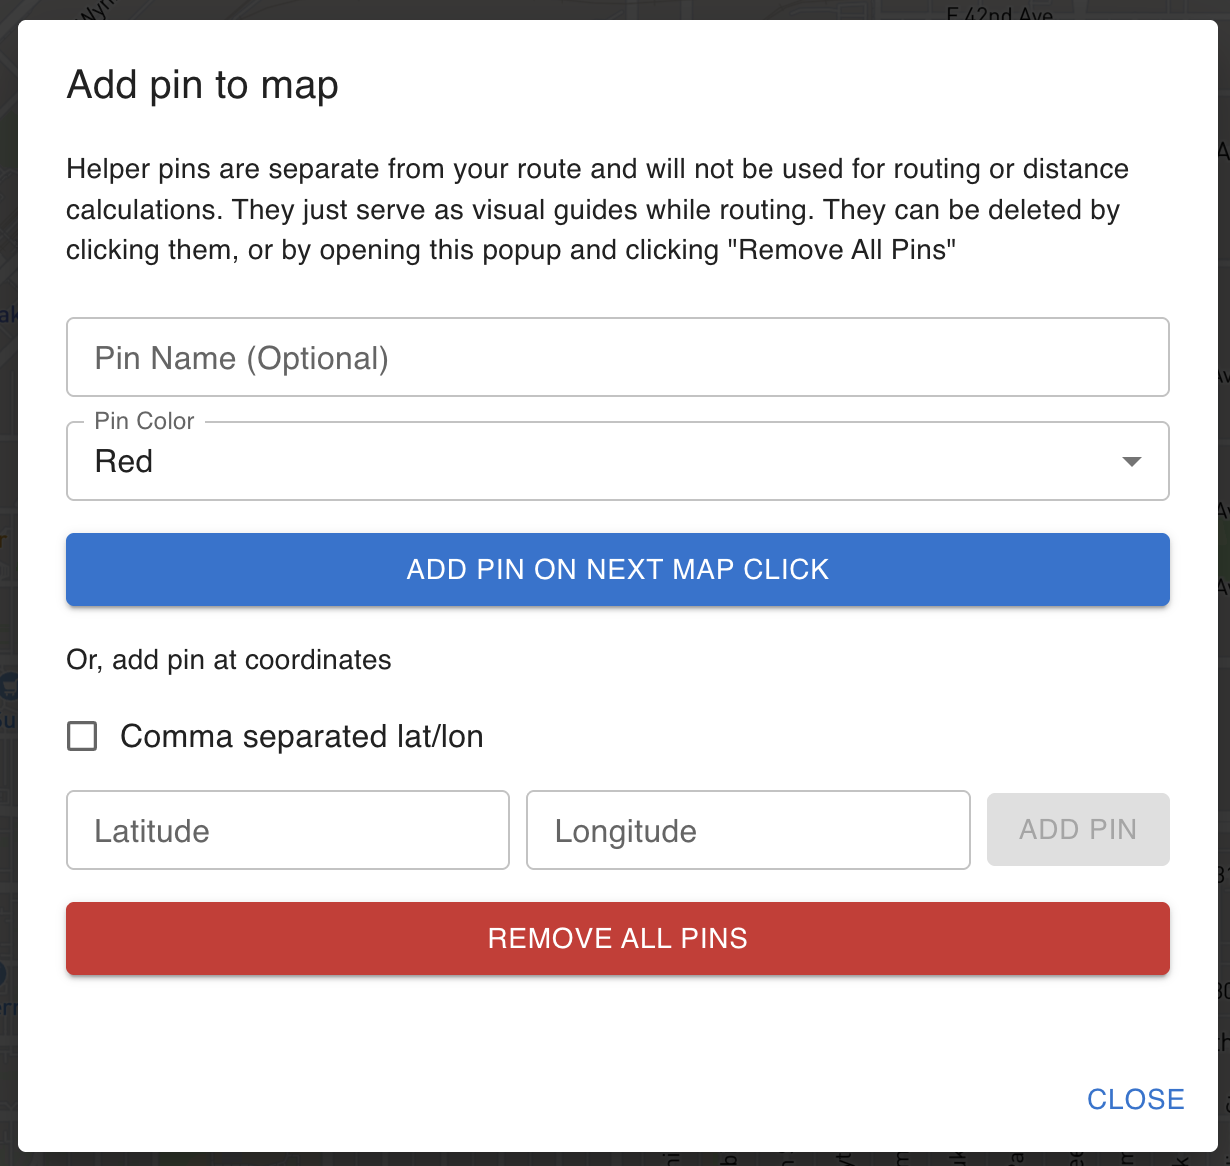
You can place helper pins on your map to help you visually when routing. These points are separate from your route and will in no way effect route legs, waypoints or distance.
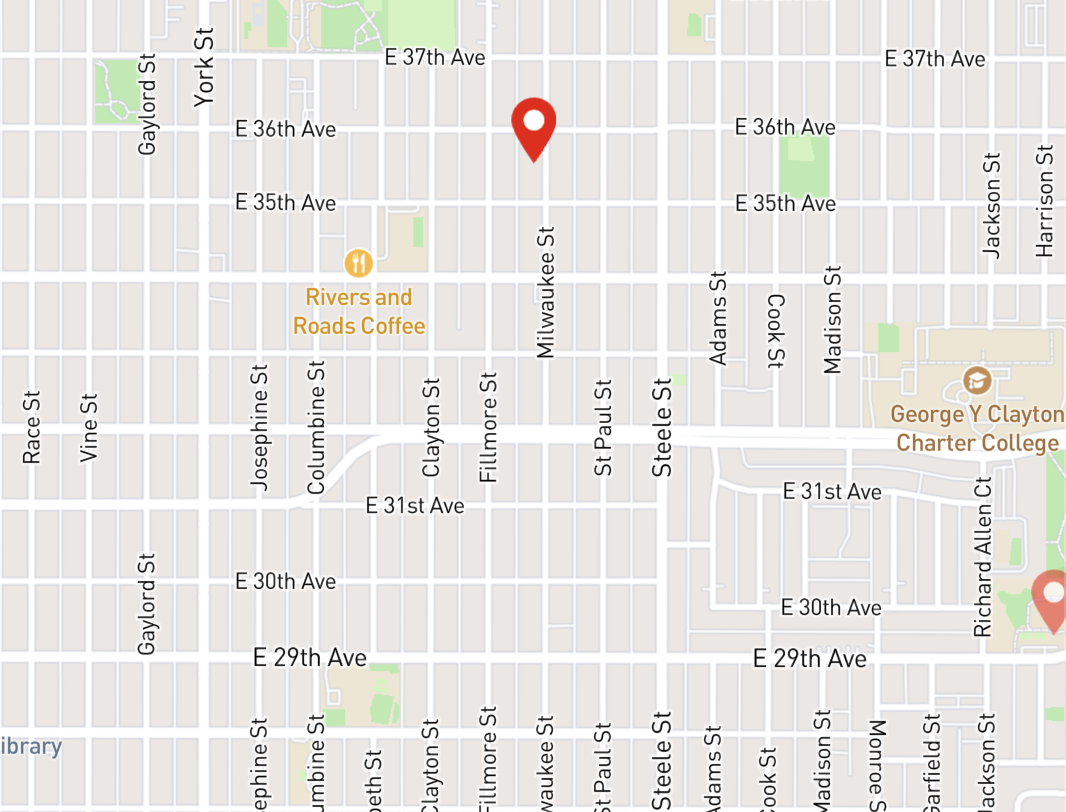
Pins can be useful when you are attempting to route between specific locations, or in an area you don't know well. They can be named, and they always show up on the map. If a pin is off screen, you will see it on the edge of the map in the direction that it is located.
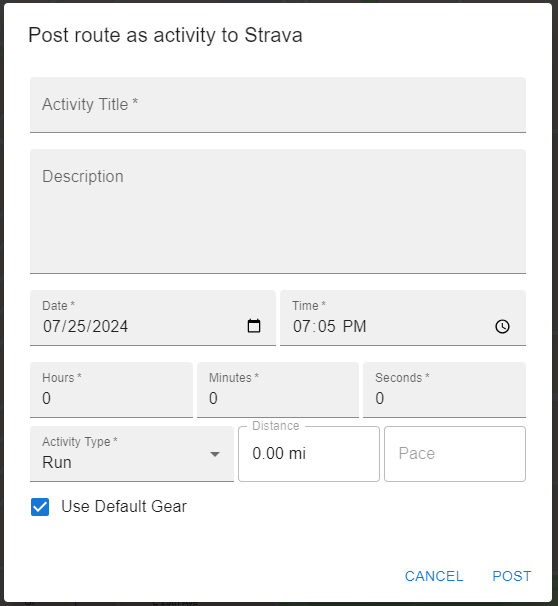
Post to Strava
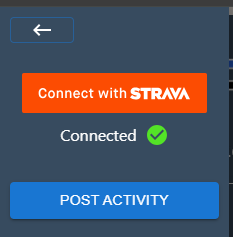
Clicking into the menu at the top left of the sidebar opens more settings. The first two buttons in the sidebar are "Connect with Strava" and "Post Activity". Before an activity can be posted to Strava, you must first connect using the "Connect with Strava" button. This will bring up a Strava controlled login window. Note that HowFar never sees and does not save your login info, but it does save a token safely in the browser which will prevent you from having to re-login to Strava every time you open the app. The token lasts 6 months and can be deleted by clearing your cookies.
Underneath the "Connect with Strava" button you will see your connection status. If you are connected, you will see a green check. This indicates that you have already logged in and are able to post your activity. If you see a red X, you will need to login.
The "Post Activity" button will bring up a window where you can enter information like a name, description, elapsed time, time of day and activity type. Enter all of the required fields and click "Post" to post your run to Strava.
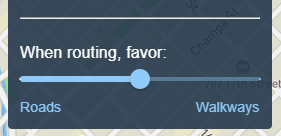
Favored Surface Type Slider
This can be a confusing feature, but can also be helpful for mapping different types of activities, or for mapping in certain geographic areas. Basically, the closer the slider is to favoring "Roads", the more weight the mapping service will put on keeping your route ON roads. The closer the slider is to favoring "Walkways", the more weight the mapping service will put on keeping you OFF of roads and on sidewalks, trails, path and walkways.

Export Activity
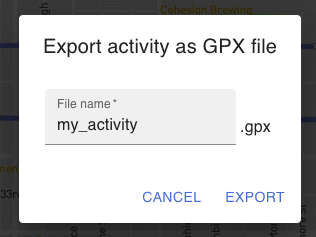
Activities (routes) can be exported to GPX files for portability with other applications. To do this, click on the menu icon in the top left of the sidebar and find and click the "Export Activity" button. Then just enter a file name and click "Export".
File names can only contain letters, numbers, dashes (-), underscores (_), and periods (.)
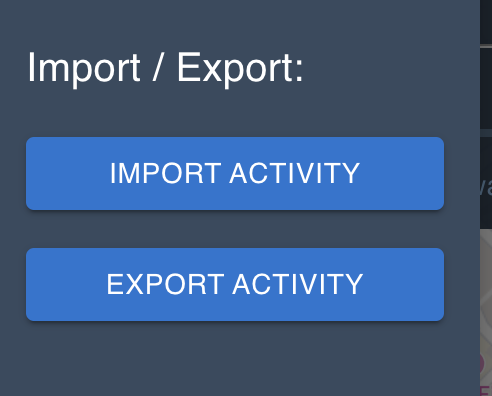
Import Activity
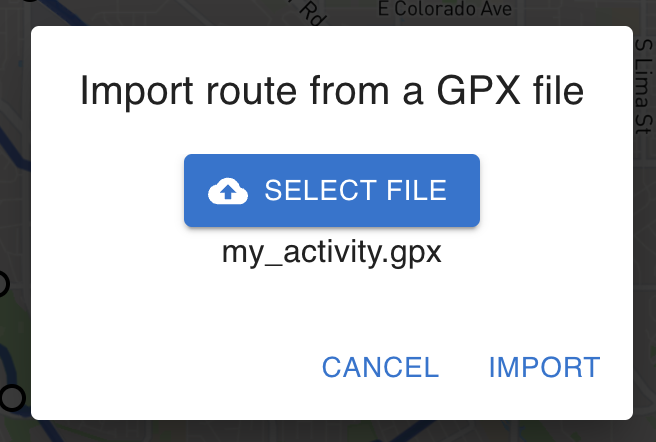
Routes can be imported into HowFar from a GPX file. These GPX files can be ones that were exported from HowFar, from a watch, or any other place. As long as it is a valid GPX file it can be imported to HowFar. Once imported, routes can be edited as normal.
To import a route, click on the menu icon in the top left of the sidebar and find and click the "Import Activity" button. Then just choose a file and click "Import".
3D Visualization
Visualize your route from above with HowFar's 3D visualization feature. Once you've created a route, you can view it in a 3D aerial view that shows elevation profiles, terrain details, and provides a cinematic fly-through that you can either animate, or control yourself.
The 3D visualization gives you a unique perspective on your planned activities, helping you understand the elevation changes and terrain you'll encounter. This is particularly useful for trail runs, hikes, and bike rides on terrain with elevation change, but can also be used to visualize race courses or other complex routes.
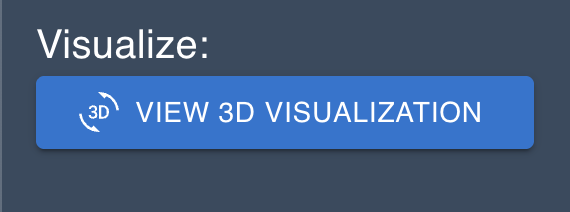

To use the 3D visualization feature:
- Create a route by clicking on the map
- Open the settings menu
- Click "View 3D Visualization" in the Visualize section
- Enjoy the cinematic view of your route